> For the complete documentation index, see [llms.txt](https://docs.ticket-log.com/llms.txt). Markdown versions of documentation pages are available by appending `.md` to page URLs; this page is available as [Markdown](https://docs.ticket-log.com/documentation/administrators-guide/azure-devops-settings.md).
# Azure DevOps settings
This is the Azure DevOps configuration screen:
From this screen you set the **Organization URL** and **Project** name for the Azure DevOps organization and project you want new tickets to be created in. Additional Azure DevOps settings (such as work item types, tags and areas) are located in [Forms & fields](/documentation/administrators-guide/forms-and-fields.md) settings.
Select an **Authentication method** then click **Save & Authorize** to complete the integration. What happens next depends on the authentication method selected:
{% hint style="info" %}
With either method, you should consider using a dedicated user for the purpose of TicketLog integration. This will ensure all interactions (such as comments and updates) are easy to identify in Azure DevOps.
{% endhint %}
{% hint style="info" %}
For details on authorization requirements or help with issues, check out our Troubleshooting guide here:[Authorizing Azure DevOps](/troubleshooting/authorizing-azure-devops.md)
{% endhint %}
* **Microsoft Entra ID:**
* *Choose this method if your Azure DevOps users are Entra ID organizational users.*
* Select a currently logged in user or sign in with your preferred user.
* Accept the integration with TicketLog:
* **Legacy Azure DevOps OAuth:**
* *Choose this method if your Azure DevOps users are direct Microsoft logins.*
* *Please note:*
* Visit our [Quick Setup guide](/guides/how-to-connect-to-azure-devops.md) for detailed instructions on this method.
* This method does not give an option to select or change user. Authentication will default to the currently logged-in Azure DevOps user. For this reason, we recommend completing this process while *not* logged in to Azure DevOps (consider using a Guest, Private or Incognito browser). This way, you can be sure which Azure DevOps user is attached as the integration user to TicketLog.
* If you are not already logged in to Azure DevOps, you will be prompted to login.
* You will then be prompted to accept data sharing for integration. Verify the user (1) and organization (2) details are correct, then click Accept.
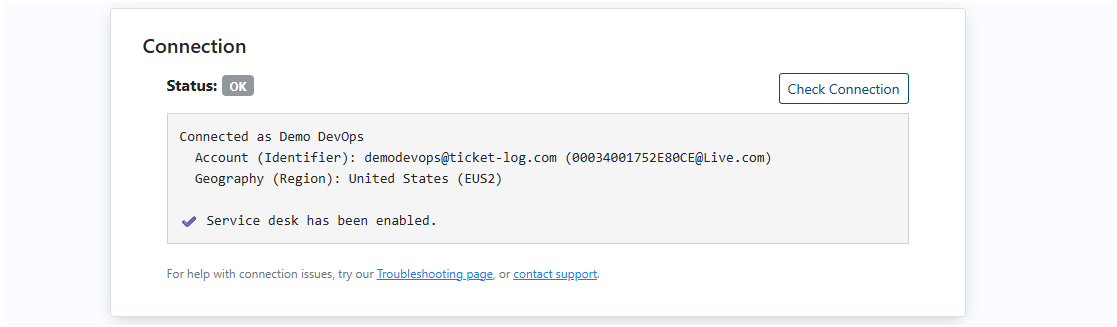
Once accepted, TicketLog will attempt to validate the connection with Azure DevOps and ensure minimum configuration requirements are correct. Watch the panel at the bottom of the screen and wait for the results to appear. If validation is successful, the service desk will be enabled. If there is an error, the service desk will be disabled.
You can validate the connection any time by clicking the **Check Connection** button.